|
| Pocket Money Polishes Forever and Angels |
Today I have two of Charlie's new Pocket Money Polishes September Sparkle Collection glitter toppers to show you - *Forever* and *Angels*. Charlie describes these as a pair of yin and yang polishes; I love black and white glitter in just about any format and I think it's a great idea to present the black glitter and white glitter separately - it allows for much more creativity!
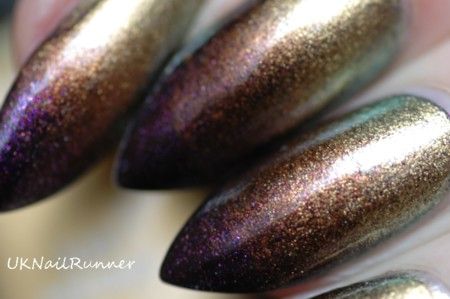
Let's start with Forever. Forever is a mix of small black hexes, big black circles and iridescent bar glitters. In the bottle in reminds me of frogspawn - all black glitters do, lol!
 |
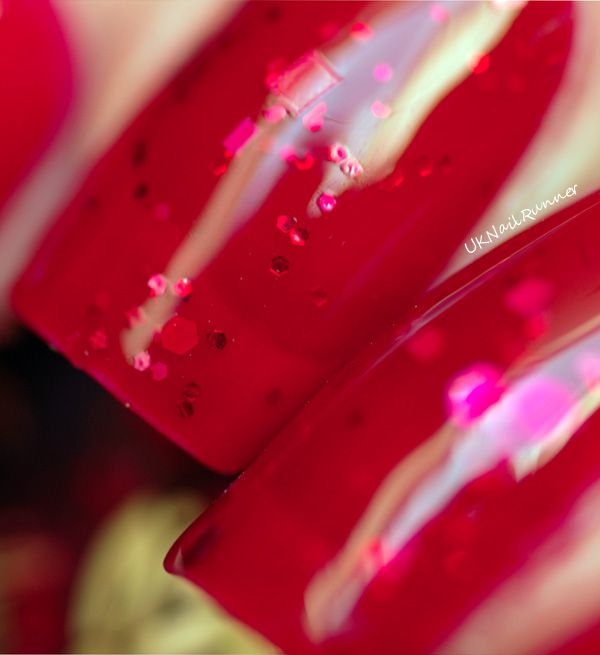
| Pocket Money Polishes Forever |
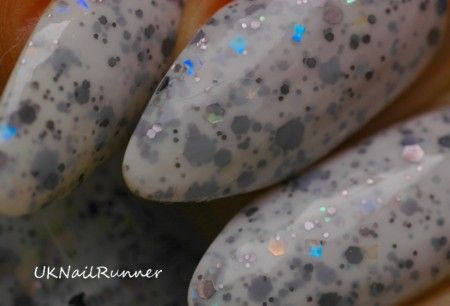
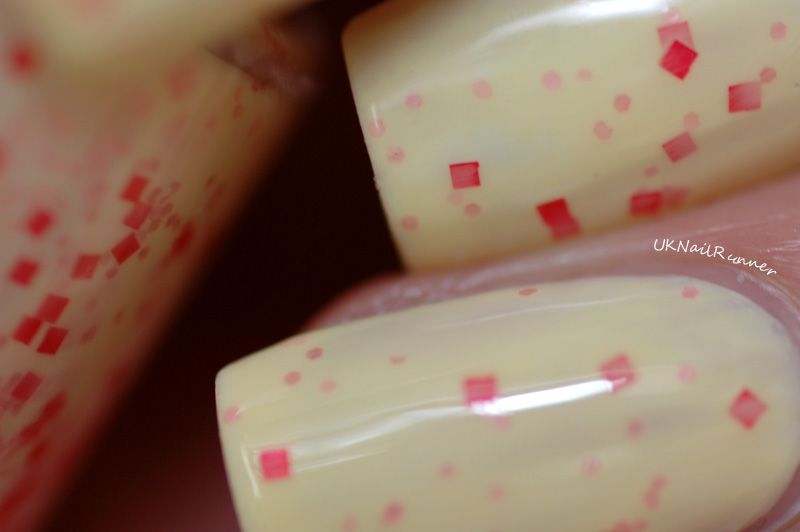
Forever would look great over just about any colour, as long as the background wasn't so dark it blended in to the black. I was feeling in a bit of a monochrome mood, and the black circles put me in mind of dalmations - so here are my 'dalmation nails'!
I'm not very keen on pure white polish apart from for stamping and other nail art - I think it looks rather stark; I much prefer a cream shade. I've used American Apparel Cotton here - this is a super cream shade. The formula tends a little to streakiness, but two coats and SV is fine for under glitter. I'd probably use three coats of AA Cotton on its own. I used two thin coats of Forever over the base, then a coat of Gelous and a coat of Seche Vite. The iridescent glitters are interesting - over a light base they are yellow-pink, but over dark they flash green and blue, as you can see in the bottle shot above.
If you get the angle just right though, you see an occasional subtle flash of green from these iridescent glitters, even over a pale base.
 |
| Pocket Money Polishes Forever |
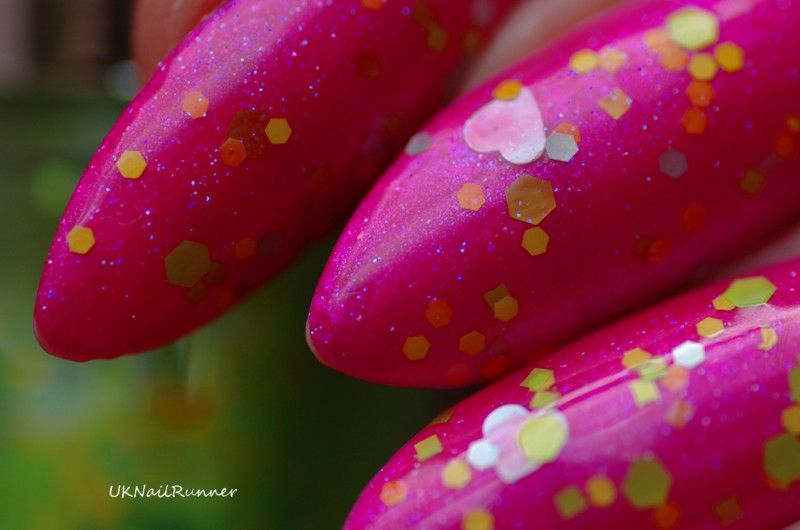
Much as I love the monochrome style, I'm always looking out for ways to change and extend the life of my mani! So I decided to a splash of bright colour with another awesome glitter topper from Charlie ~ *School's Out*. This is a mix of primary red, yellow and blue matt hexagon glitter.
 |
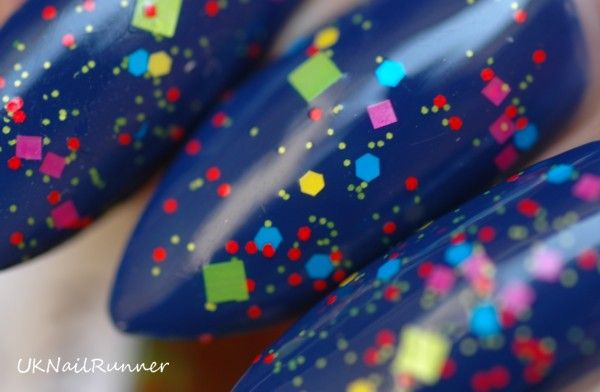
| Pocket Money Polishes School's Out |
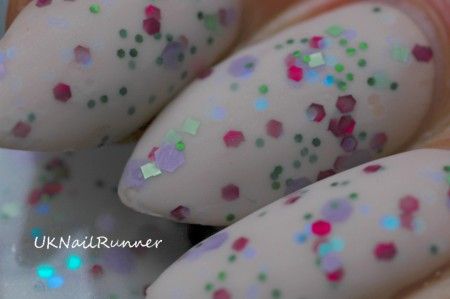
Given that School's Out combines all three primary colours, it probably works best over a neutral base - I'd been planning to create some black and white nail art to wear this over......... and then I realised that I had that black and white nail art! So here is a single, light coat of School's Out over Forever and the off-white base. I love this effect - very Mondrian colour scheme!
 |
| Pocket Money Polishes Forever and School's Out |
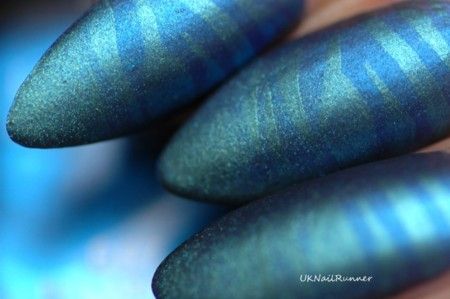
The other half of the black and white glitter pair is Angels, which is small white hexes, white circles and the same iridescent bar glitter. But see how different the iridescent glitter looks in the bottle with the white.
 |
| Pocket Money Polishes Angels |
Reverse the effect above, and put the white glitter topper over a black nail and you have dominoes! I used American Apparel Hassid as my base here - this black is a one coater (certainly if you're putting something else on top).
How different the iridescent glitters look against the black base!
 |
| Pocket Money Polishes Angels |
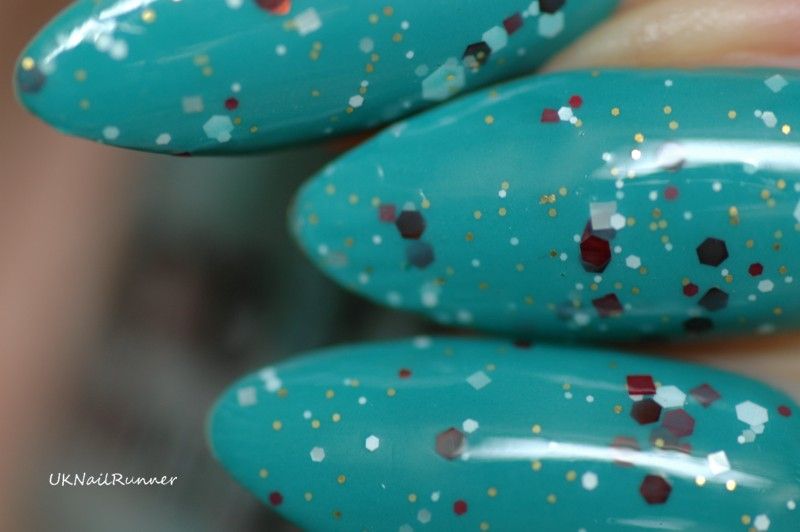
And then with a light coat of School's Out:
I think the combination of Angels and School's out over black is less striking than Forever and School's Out over cream - I'm not sure if it's the iridescent glitters flashing green and blue that makes the whole mani look more *busy*, or if it's just that multi-coloured glitter over black is a combination that I've worn many times before. I still like the effect, nonetheless.
 |
| Pocket Money Polishes Angels and School's Out |
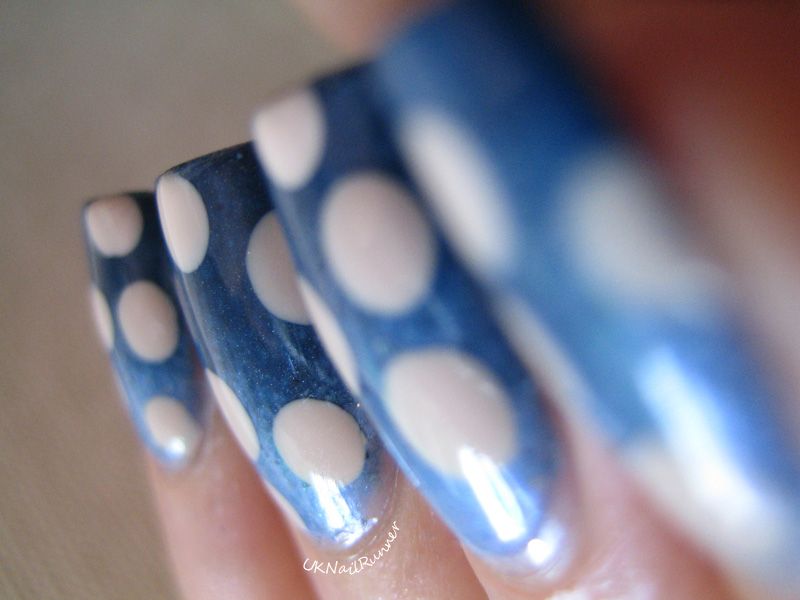
And, finally - well of course you can combine the Forever and Angels! Obviously if you put on one coat of Forever and then a coat of Angels you'd get a black and white glitter mix that would look great over just about any colour. But I wanted to do something a bit different - that you couldn't get from a bottle of black and white glitter (of which I have many, in all shapes and sizes).
I've been working at improving my gradient technique for the last few weeks, and a challenge that I'd set myself was to do a black and white gradient........... so here it is; a perfect base for a black glitter and a white glitter!
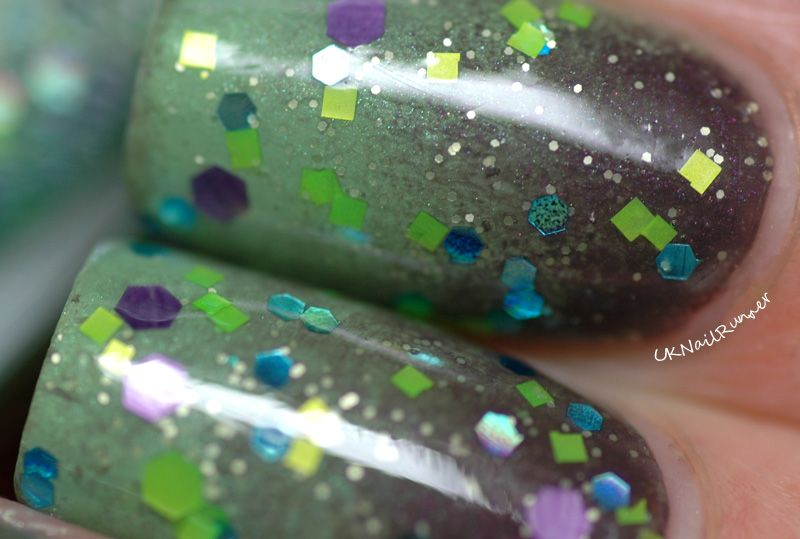
This last picture shows a direct comparison of how the iridescent glitter in Forever and Angels looks on a dark and light background.
 |
| Pocket Money Polishes Forever and Angels |
And finally, a macro of my gradient; I'm pleased with how that turned out! I painted my nails with American Apparel Cotton then applied a sponge gradient using American Apparel Cotton and Hassid. Although the black and white look scary together on the sponge, it actually worked quite easily. And for once I remembered to put tape around the edges of my nails, which made clean up a million times easier than it usually is when I do a gradient!
 |
| Pocket Money Polishes Forever and Angels |
I purchased Pocket Money Polishes Forever, Angels and School's Out directly from Charlie at her
website, which includes a blog with updates of restocks, launches and new colours. Forever and Angels go on sale on 1st September - I was lucky to be able to get a preview order :) You can follow Charlie on
facebook too. For anyone in the US who likes the look of Charlie's polishes, she is planning a US pop-up sale in September - details on this
facebook page.
American Apparel Hassid and Cotton were part of a gift from a lovely US polish friend - American Apparel does have a
UK website where you can buy the polishes but they seem rather pricey (£9) compared to the US rrp ($6).