|
| Binky London Raffles Red with Richmond Red |
I reviewed a few of the super colours from new UK brand Binky London recently (
this post here); today it's time for my second instalment. Let's start with RED - because a) red is seasonal and b) I love red nails!
This first polish is Raffles Red, a classic red cream. It's a perfect pillarbox red, application was incredibly easy - this is just two coats. I mentioned the shape of Binky London polishes brush in my last review - the big rounded brush makes it really simple to get a perfect edge around your cuticles.
 |
| Binky London Raffles Red |
Another great thing about Raffles Red is the staying power of the pigment - reds are often very soft and sometimes go dull quickly (and even worse, some reds I've worn leave streaks of red all over paperwork, which can be embarassing) but that didn't happen at all with this one - it stayed rich and shiny for the whole life of my mani.
 |
| Binky London Raffles Red |
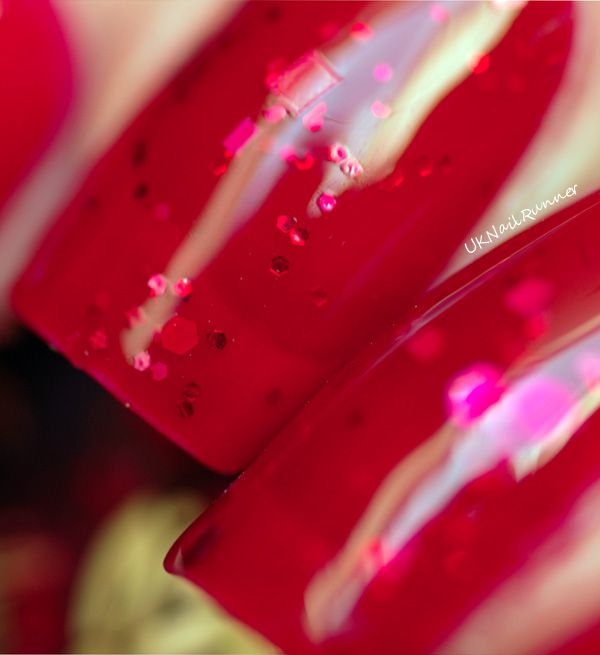
The other red I have to show off is Richmond Red. This is a shimmery, almost *foil* kind of red, a bit bluer in tone than Raffles Red. To be honest, whilst Raffles Red is really my kind of colour, Richmond Red is on the edge of my comfort zone - I prefer creams to shimmers and orangey reds to bluey ones. However, once this was on my nails I absolutely loved it. Bonus for me is that I don't have a colour anything like this in my collection, so it's sure to get worn again!
First picture is in window light - sorry about all the reflections here but it does show the colour nicely:
And then into the light box to calm down the crazy reflections:
 |
| Binky London Richmond Red |
I think this one needs a macro shot to show the full potential of the shimmer..........
 |
| Binky London Richmond Red |
OK, so if when I can't choose which polish I want to wear, the only answer is to wear more than one! Here I've done a simple stamping using Richmond Red over Raffles Red. I love how the subtle tone-on-tone effect works with the two reds. I used one of the zebra images from the Cheeky Wild At Heart jumbo plate for stamping. I think this is classy enough to be work appropriate, especially at this time of year! Richmond Red stamps perfectly.
 |
| Binky London Raffles Red with Richmond Red |
No topcoat over the stamping, I wanted to keep the texture of this mani!
 |
| Binky London Raffles Red with Richmond Red |
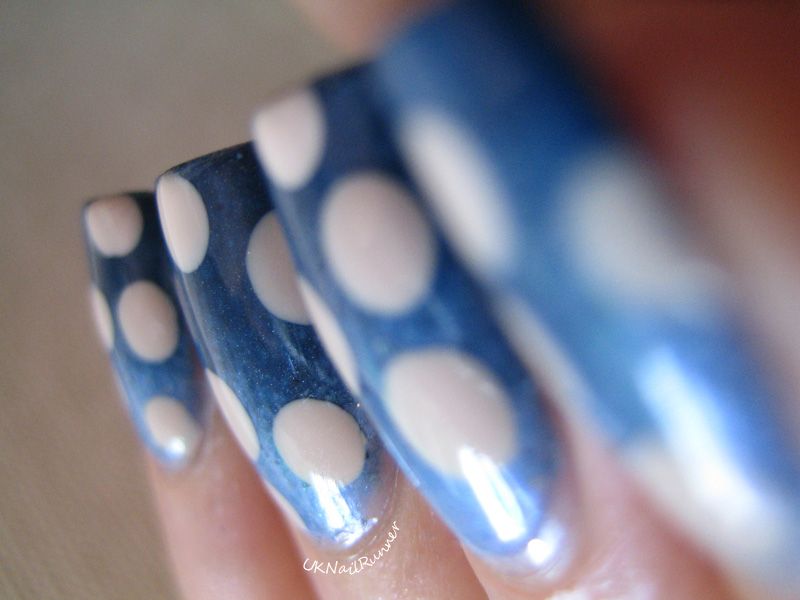
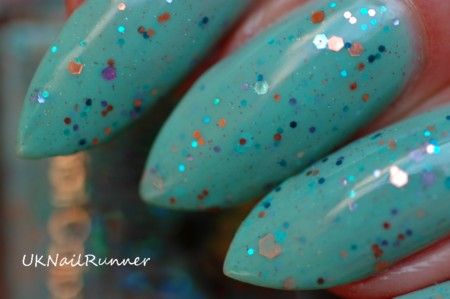
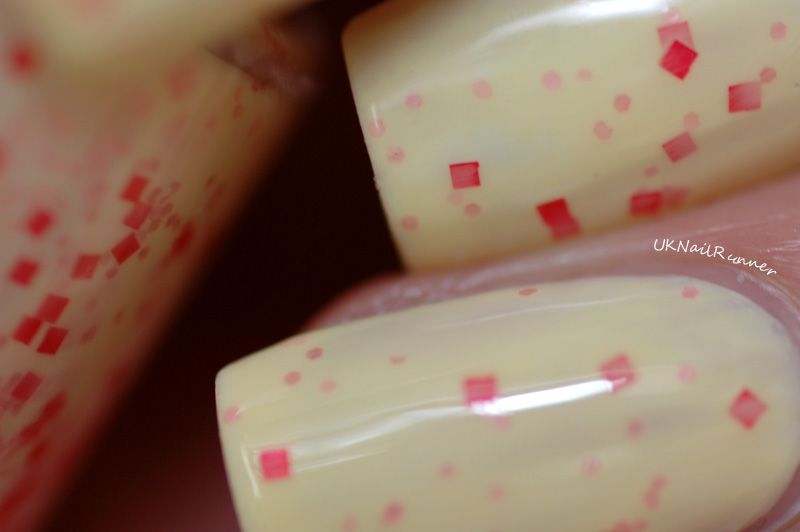
This next mani is a combination of Chelsea Coral, a bright coral pink (it makes me think of flamingoes) and the glitter topper Fulham Frost. Of course, I could have just layered the glitter over a base colour, or done a gradient with it, but I wanted to try something a bit more original, so I used it for dots!
 |
| Binky London Chelsea Coral with Fulham Frost |
The mani is two coats of Chelsea Coral, which gave full coverage, then dots of Fulham Frost applied once the base was dry. Dots are very easy to do - you need a dotting tool of some description... small ones made specifically for nail art can be bought very cheaply from online sellers on Amazon or Ebay, or you can improvise with household objects. Anything that is effectively ball shaped with some sort of handle will do - so old earrings, pen tops, paintbrush handles etc are all perfect! I pour a drop of polish into a old plastic milk bottle lid and dip whatever I'm using for the dots into it. Practice on a bit of paper if you're not sure how it will look!
 |
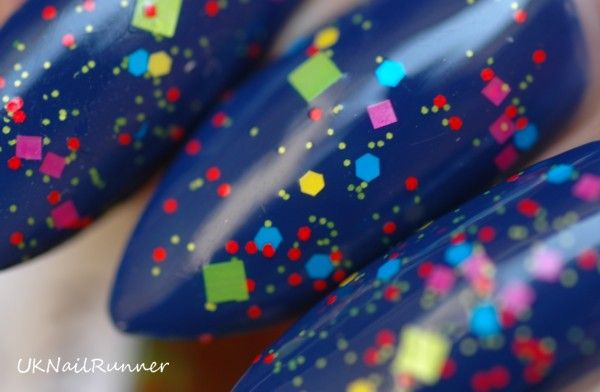
| Binky London Chelsea Coral with Fulham Frost |
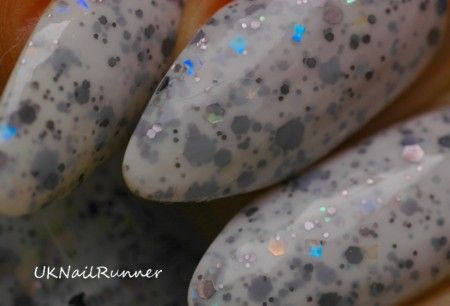
Glitter is great for big dots because you get this great gradation effect around the edges:
 |
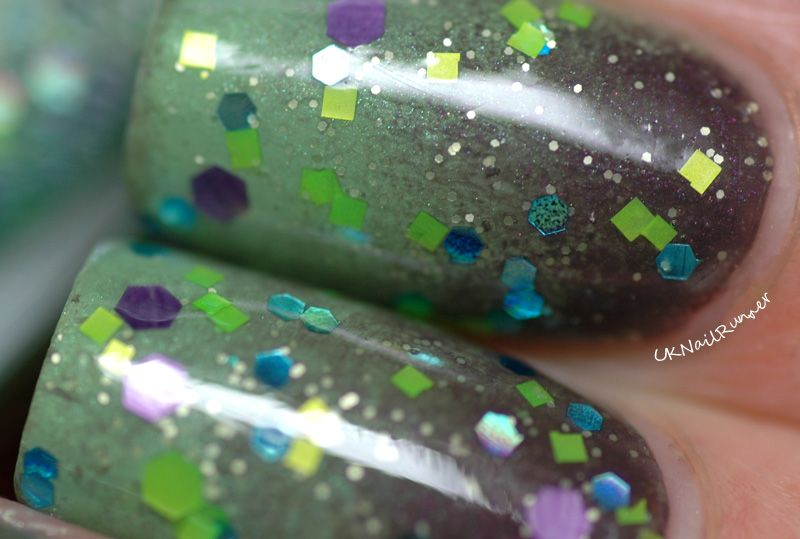
| Binky London Chelsea Coral with Fulham Frost |
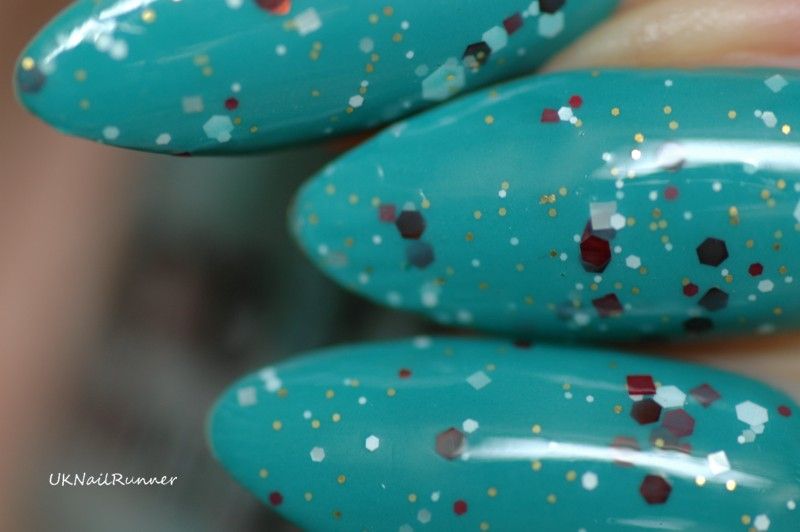
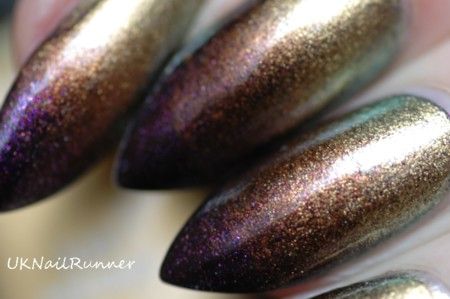
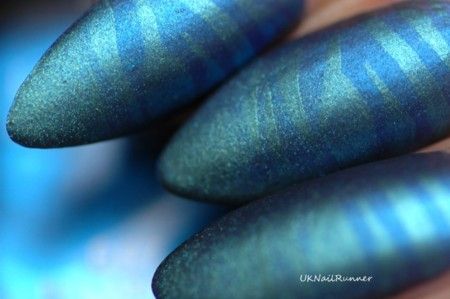
So my verdict on these polishes....... great staple colours and fantastic formula! I have a teal, another special effects topper and two metallic shades from this range to share soon!
My Binky London polishes are press samples provided for review but you can buy Binky London polishes online from
escentual.com.