Gallery

  • Emily de Molly

    No Love Lost
  • High Elbow

    Crummock Water
  • Dots!

  • Pocket Money Polishes - I Want Candy

  • Pocket Money Polishes Magic

    Gradient: Chanel Paradoxal and Dior Waterlily
  • Emily de Molly - Serenity

  • Fellrunning

    Dryburn Moor
  • Elevation Polish - Opal

  • Darling Diva Polish - Serendipity

  • Derwentwater

  • Pocket Money Polishes - Summertime

  • Nail Lacquer UK

    Eat My Cake
  • Scofflaw - Whiskey Tango Foxtrot

  • Hodge

  • Chanel - Taboo and Peridot

  • Chanel - Bel-Argus and Azure


Showing posts with label Colour Geekery. Show all posts

Thursday, 10 October 2013

Femme Fatale Lime Thief - swatch and review

Femme Fatale Lime Thief


What a gorgeous combination of colours and such an evocative name - the name reminds me of William Morris' Strawberry Thief, a textile design inspired by blackbirds stealing fruit from the artist's garden.

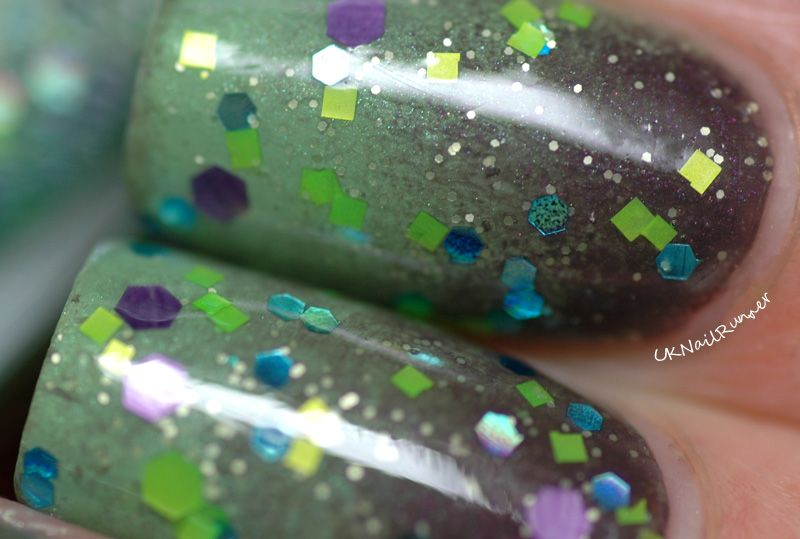
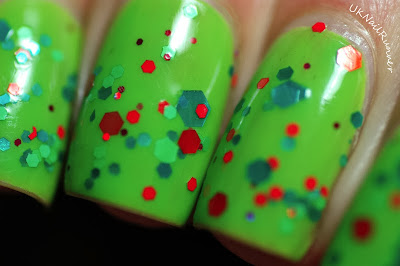
Femme Fatale Lime Thief is a bright lime green jelly polish with hexagonal glitter in various sizes in red, lime green and emerald green. I've seen it looking great alone as a jelly (check out Ida's lovely swatches to see this) but I wanted a more vibrant effect so I layered it over GOSH Early Green, a bright leafy lime that's maybe just a tad more yellow than the base of Lime Thief (have a look at this post for my pictures of Early Green on its own and with a black glitter).


Femme Fatale Lime Thief

This is two coats of Femme Fatale Lime Thief over one coat of GOSH Early Green. I used a coat of Gelous and a coat of Seche Vite quick drying topcoat to smooth the glitters out. Application of Lime Thief is flawless, and I was working from a mini bottle. The glitter comes out of the bottle easily without fishing, and spreads across the nail without clumping. The combination of colours is perfect - green and red are complementaries after all!

Femme Fatale Lime Thief


And a couple of macros to finish with.........., and by the way, I cut my nails square; they're perhaps a bit shorter than I'd really like right  now, but I wasn't getting on with those rounded corners from my last couple of posts at all - I know I like square or pointy, and nothing in between, so I must have been having a bit of a funny moment when I rounded my corners. Never mind, I like experimenting, and they're only nails, they grow back quick!

Femme Fatale Lime Thief

Femme Fatale Lime Thief

Femme Fatale Lime Thief

Then, just for fun, the day before I took this off, I added a bit of simple geometric nail art with striping tape and black polish. I used American Apparel Hassid here - it's a very dense black and I only needed one coat. I'm always amazed how much something like this can totally transform a mani - and it's a great trick for extending the life of a mani another day or two if you're bored with it or its become a bit worn looking!


Femme Fatale Lime Thief was sent as a sample for review. You can buy this shade directly from Femme Fatale (shipping worldwide, or check their list of international suppliers for other shipping options) at their website.  I purchased GOSH Early Green at my local Superdrug earlier this year. American Apparel Hassid was a gift from a friend a while ago.

Tuesday, 27 August 2013

Dalmations and Dominoes! Pocket Money Polishes Forever, Angels and Schools Out

Pocket Money Polishes Forever and Angels
Today I have two of Charlie's new Pocket Money Polishes September Sparkle Collection glitter toppers to show you - *Forever* and *Angels*. Charlie describes these as a pair of yin and yang polishes; I love black and white glitter in just about any format and I think it's a great idea to present the black glitter and white glitter separately - it allows for much more creativity!

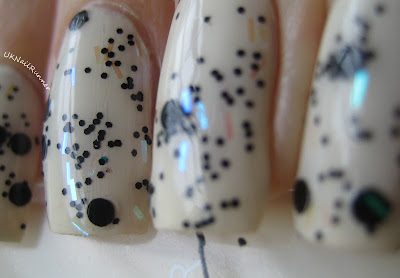
Let's start with Forever. Forever is a mix of small black hexes, big black circles and iridescent bar glitters. In the bottle in reminds me of frogspawn - all black glitters do, lol!

Pocket Money Polishes Forever
Forever would look great over just about any colour, as long as the background wasn't so dark it blended in to the black. I was feeling in a bit of a monochrome mood, and the black circles put me in mind of dalmations - so here are my 'dalmation nails'!

Pocket Money Polishes Forever

I'm not very keen on pure white polish apart from for stamping and other nail art - I think it looks rather stark; I much prefer a cream shade. I've used American Apparel Cotton here - this is a super cream shade. The formula tends a little to streakiness, but two coats and SV is fine for under glitter. I'd probably use three coats of AA Cotton on its own.  I used two thin coats of Forever over the base, then a coat of Gelous and a coat of Seche Vite. The iridescent glitters are interesting - over a light base they are yellow-pink, but over dark they flash green and blue, as you can see in the bottle shot above.

If you get the angle just right though, you see an occasional subtle flash of green from these iridescent glitters, even over a pale base.

Pocket Money Polishes Forever

Pocket Money Polishes Forever

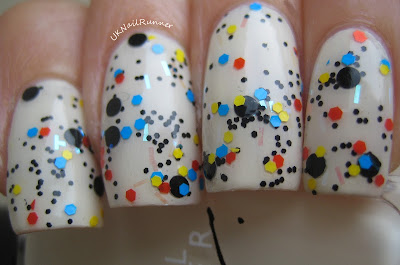
Much as I love the monochrome style, I'm always looking out for ways to change and extend the life of my mani! So I decided to a splash of bright colour with another awesome glitter topper from Charlie  ~ *School's Out*. This is a mix of primary red, yellow and blue matt hexagon glitter.  
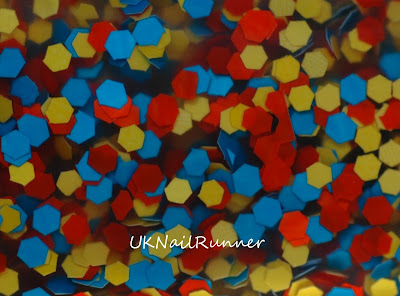
Pocket Money Polishes School's Out

Given that School's Out combines all three primary colours, it probably works best over a neutral base - I'd been planning to create some black and white nail art to wear this over......... and then I realised that I had that black and white nail art!  So here is a single, light coat of School's Out over Forever and the off-white base. I love this effect - very Mondrian colour scheme!

Pocket Money Polishes Forever and School's Out

Pocket Money Polishes Forever and School's Out

The other half of the black and white glitter pair is Angels, which is small white hexes, white circles and the same iridescent bar glitter.  But see how different the iridescent glitter looks in the bottle with the white.

Pocket Money Polishes Angels
Reverse the effect above, and put the white glitter topper over a black nail and you have dominoes! I used American Apparel Hassid as my base here - this black is a one coater (certainly if you're putting something else on top).

Pocket Money Polishes Angels

How different the iridescent glitters look against the black base!

Pocket Money Polishes Angels

Pocket Money Polishes Angels
And then with a light coat of School's Out:

Pocket Money Polishes Angels and School's Out

I think the combination of Angels and School's out over black is less striking than Forever and School's Out over cream - I'm not sure if it's the iridescent glitters flashing green and blue that makes the whole mani look more *busy*, or if it's just that multi-coloured glitter over black is a combination that I've worn many times before. I still like the effect, nonetheless.

Pocket Money Polishes Angels and School's Out
And, finally - well of course you can combine the Forever and Angels! Obviously if you put on one coat of Forever and then a coat of Angels you'd get a black and white glitter mix that would look great over just about any colour. But I wanted to do something a bit different - that you couldn't get from a bottle of black and white glitter (of which I have many, in all shapes and sizes).

I've been working at improving my gradient technique for the last few weeks, and a challenge that I'd set myself was to do a black and white gradient........... so here it is; a perfect base for a black glitter and a white glitter!

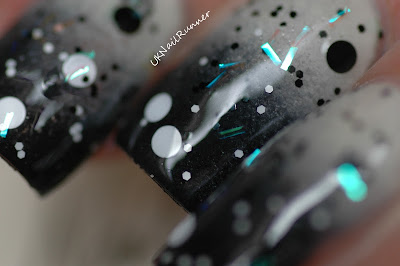
Pocket Money Polishes Forever and Angels

Pocket Money Polishes Forever and Angels

This last picture shows a direct comparison of how the iridescent glitter in Forever and Angels looks on a dark and light background.
Pocket Money Polishes Forever and Angels

And finally, a macro of my gradient; I'm pleased with how that turned out! I painted my nails with American Apparel Cotton then applied a sponge gradient using American Apparel Cotton and Hassid. Although the black and white look scary together on the sponge, it actually worked quite easily. And for once I remembered to put tape around the edges of my nails, which made clean up a million times easier than it usually is when I do a gradient!

Pocket Money Polishes Forever and Angels

I purchased Pocket Money Polishes Forever, Angels and School's Out directly from Charlie at her website, which includes a blog with updates of restocks, launches and new colours. Forever and Angels go on sale on 1st September - I was lucky to be able to get a preview order :)  You can follow Charlie on facebook too. For anyone in the US who likes the look of Charlie's polishes, she is planning a US pop-up sale in September - details on this facebook page.

American Apparel Hassid and Cotton were part of a gift from a lovely US polish friend - American Apparel does have a UK website where you can buy the polishes but they seem rather pricey (£9) compared to the US rrp ($6). 


Thursday, 15 August 2013

Nail Lacquer UK - Sticks and Stones RED & Sticks and Stones BLUE

Nail Lacquer UK Sticks and Stones Blue
Nail Lacquer UK Sticks and Stones Red


Here I've got a couple of interesting glitter toppers from a brand new indie maker in the UK, Nail Laquer UK.  I reviewed her polish Eat My Cake last week, and I got these two at the same time. They are a variation on the black and white splatter style glitter.......... it's about two years since I first got my hands on a bottle of Lynnderella Connect the Dots, which started this whole craze off. What a lot of glitter under the bridge since then! I love black and white glitter (and black glitter, and white glitter), and I've accumulated quite a few variants by now. Adding another colour to the mix definitely adds interest!

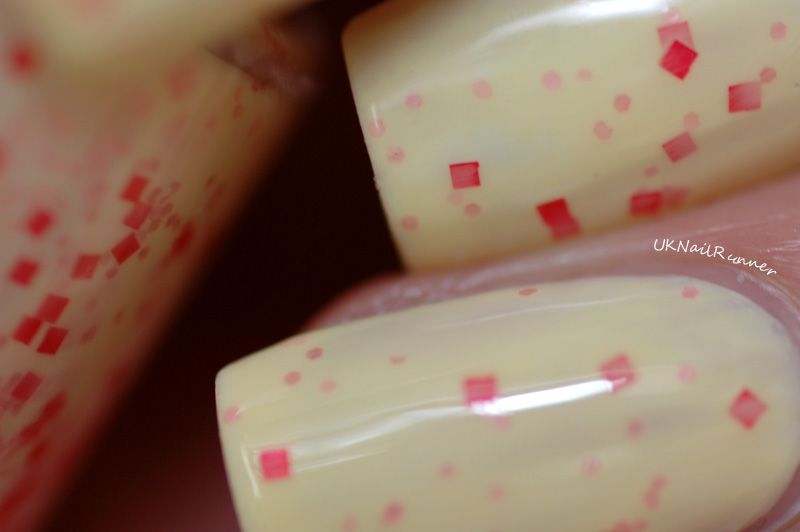
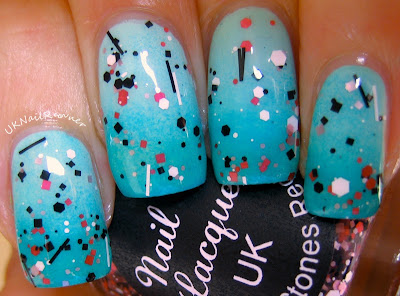
Let's start with the red version - here it is in the bottle. Black, white and red / pink glitter in a clear base. I'd describe the red as a cool-toned red or maybe even deep raspberry pink, and there are squares and hexes of different sizes in this colour, along with squares and hexes of a lighter pink too. Very pretty combination.

Nail Lacquer UK Sticks and Stones Red

Black and white glitter has to be one the easiest and most versatile glitter toppers to use - you can throw it over just about any colour and as long as that colour isn't so light you can't see the white glitter or so dark you can't see the black glitter, it'll look great. Bring another colour into the mix and it get a bit more tricky - those rules still apply but the base needs to *go* with the third glitter colour. 

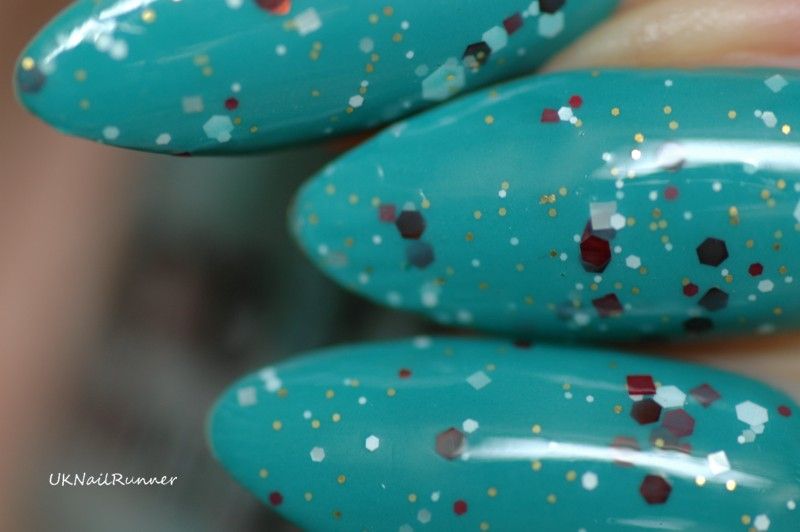
The easy way would be to layer it over a neutral or a paler or darker pink, but I wanted to try something a bit more challenging. I used my colour wheel and worked out that green was the complementary colour to red, and I liked the idea of a teal-leaning green. I chose MAC In The Limelight as the base colour for this mani, and added a sponge gradient with Butter London Slapper. Then two coats of Nail Lacquer UK Sticks and Stones Red, just as it came from the bottle, no fishing or special placement needed. I love how this turned out! I also like that fact that there's not too much bar glitter in this polish - I think a few bar glitters can look really effective but too much can spoil the effect (there's too much bar glitter in Connect the Dots for my taste, and I don't like the background shimmer in CtD much either, it's too distracting). 


Nail Lacquer UK Sticks and Stones Red


Nail Lacquer UK Sticks and Stones Red


Nail Lacquer UK Sticks and Stones Red

I added a coat of Gelous to smooth the glitter out and a final coat of Seche Vite - as you can see the glitters in Nail Lacquer UK lie nice and flat and the mani is lovely and smooth. Here are a couple of macro shots for a bit more detail:

Nail Lacquer UK Sticks and Stones Red

Nail Lacquer UK Sticks and Stones Red


The other Nail Lacquer UK Sticks and Stones, called *Blue* has bright blue and pale lavender hex and square glitters. Here it is in the bottle

Nail Lacquer UK Sticks and Stones Blue

This needs bit more nerdy colour theory....... blue and violet are split complementaries of yellow-orange, so I chose a mucky mustardy orange I've had lying around in my stash for years as the base for this one. It's a Helena Rubenstien shade called Saffron from the late 1990s - it's a horror to apply but quite a nice colour, which is why I've still got it! I really like how the blue stands out against this shade. I also think Nail Lacquer UK Sticks and Stones Blue would look great over a chocolately brown or a murky olive green.

Nail Lacquer UK Sticks and Stones Blue

Nail Lacquer UK Sticks and Stones Blue


Nail Lacquer UK Sticks and Stones Blue

And finally a couple of macros to show the detail. As with the mani above, I used two thin coats of Sticks and Stones Blue, a coat of Gelous and a coat of Seche Vite to finish with.

Nail Lacquer UK Sticks and Stones Blue

Nail Lacquer UK Sticks and Stones Blue

I purchased Nail Lacquer UK Sticks and Stones Red and Nail Lacquer UK Sticks and Stones Blue directly from AJ at her Etsy Shop; she has a blog and a facebook page for the brand where she posts updates about colours and stocking. The other polishes in this post are from my personal collection and were purchased by me - the Helena Rubenstein shade and awfully long time ago, the others more recently. 


Since we're looking at UK indie polishes, why don't you check out what the other British Nail Bloggers (including AJ from Nail Lacquer UK) are up to!


Thursday, 1 August 2013

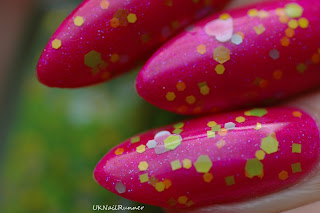
Pocket Money Polishes Summertime


 Pocket Money Polishes Summertime

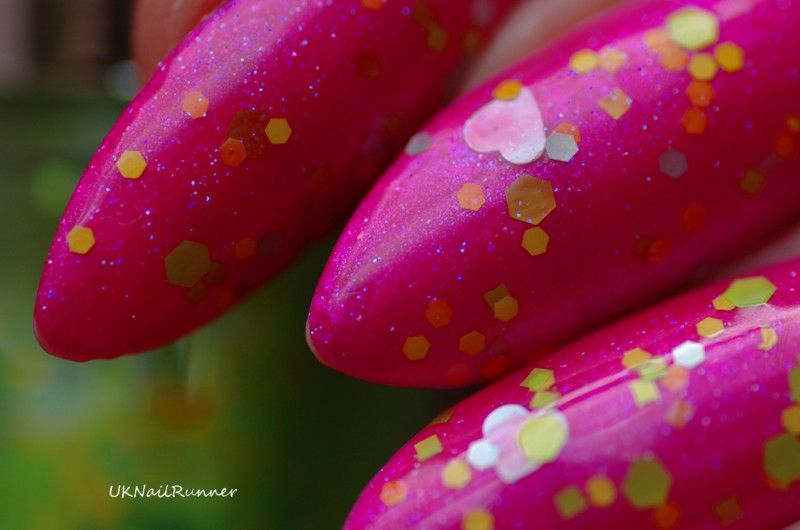
This is the third (and last, for the moment at least) of my Pocket Money Polishes summer Glitter Babies. Summertime is very aptly named, it's a mix of yellow and lime green matt glitters with  few light blue hexes and hearts thrown in for good measure.  I've used this one for two different manis, but let's have a look at the glitter itself first:

Pocket Money Polishes Summertime

My first mani with Pocket Money Polishes Summertime was a sort of open jelly sandwich. I applied one coat of Summertime over Pretty Serious The Pink One, then I added a layer of Butter London Disco Biscuit and a final coat of Summertime. BL Disco Biscuit is a super bright pink jelly with strong blue shimmer / microglitter; the tiny sparkles you can see in the pictures here are in Disco Biscuit. Because it's so sheer, the lime and yellow glitters in Summertime show through very clearly, but are tinged orange. BL Disco Biscuit is a really versatile shade - I wore it a little while ago over a white based mani (Elevation Polish Opal) and it completely transformed that one!


Pocket Money Polishes Summertime

Pocket Money Polishes Summertime

I love the pink and green together; they are complementary colours so they set each other off perfectly.

Pocket Money Polishes Summertime

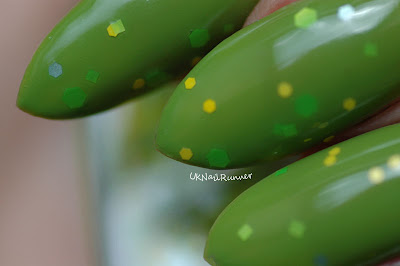
The alternative look I used Pocket Money Polish Summertime for was this all-green layering. My base here was Dior Lime, a lovely fresh spring green. I added two light coats of Summertime for this one.

Pocket Money Polishes Summertime

Pocket Money Polishes Summertime

Pocket Money Polishes Summertime

The colours in Summertime work perfectly with Dior Lime. I'll remember this mani for a long time......... these were my nails on Saturday when I ran the Lakeland 50 (50 mile off-road ultramarathon across the Lake District). I don't usually match my nails to to my clothes, but this was a perfect match for my Innovate Bare Grips, lol! Also a perfect choice for the hot sunny afternoon at the start of the event at Dalemain (north east corner of the Lake District) but not quite so apt at the end in Coniston (south west) at 3am after several hours of torrential rain! Still, it was a grand day out, I enjoyed it tremendously; miraculously suffered no injuries, not even a broken nail (there was a bit of rock scrambling to do in the last few miles so I'd pretty much resigned myself to broken nails).
Pocket Money Polishes Summertime

I bought Pocket Money Polishes from Charlie at her website here. I've been really impressed with the polishes I've tried so far (Pina Colada and I Want Candy) and Charlie is a real sweetie. Best of all, because Pocket Money Polishes is UK Indie brand, the polishes turn up in just a couple of days after ordering. She's just released some new colours today, which I'm really looking forward to getting :D