


 |
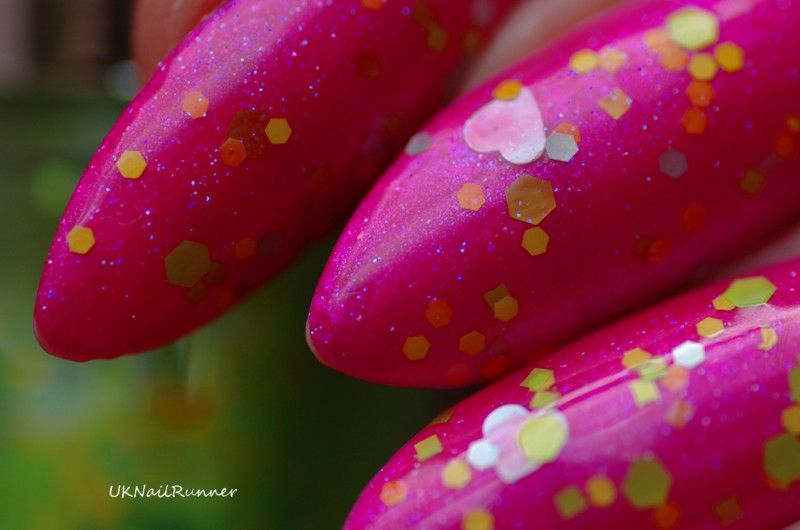
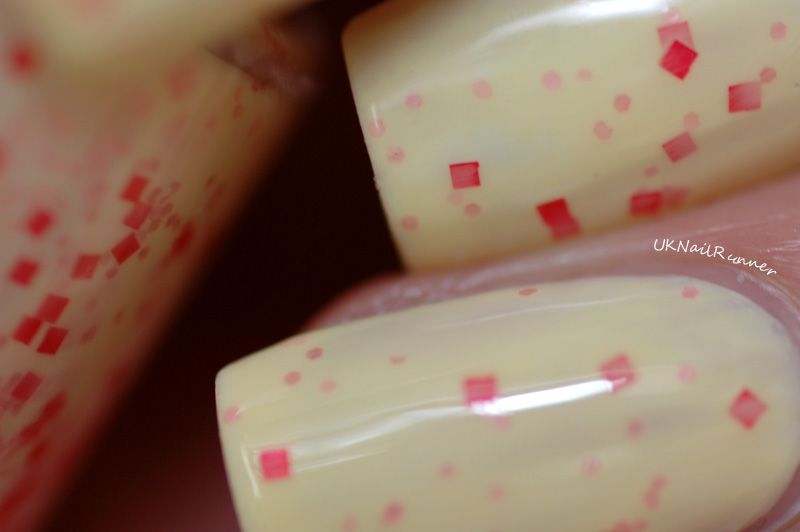
| Alta Costura Vernis Sweet Tooth over Ruby & Millie Yellow 200P |
My Easter Nails. I was stuck for a colour choice, so I asked my husband for a suggestion ~ usually he says 'blue' so I was a bit taken aback when he said yellow. Egg yellow, with 'sprinkles' to be precise. So here we are!
The base is the 'eggiest' yellow I own - it's an old polish, possibly even vintage - Ruby & Millie Yellow 200P. R&M was a 'designer' range at Boots in the UK, but they disappeared a few years ago. That's rather a shame, as I liked some of their blushers and shadows too. Although I like yellows, I'm not crazy about this colour - I find yellow a bit hard to wear as I'm quite pale and rather pink toned; I prefer mustard-y or lime-y yellows. The polish also has a bit of a shimmer in it that I'm not wild about, although there's no frostiness or brush strokes. I used three coats here as the formula was quite thin.
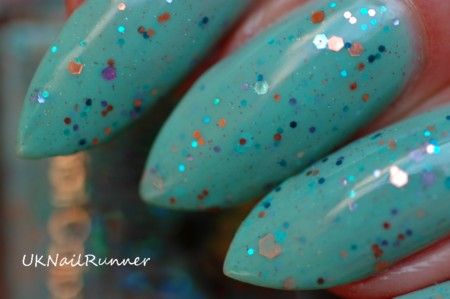
The glitter I choose for the 'sprinkles' is Alta Costura Vernis Sweet Tooth. ACV Sweet Tooth is a mix of small pink, white, blue and purple glitters in a clear base. I've worn it over pinks and blues in the past, and while it looked OK, I think the colours pop much better over the yellow. When I looked at the colour wheel, yellow, pink (red), and blue are actually a colour 'triad' so this is probably why they look good together :)
I just used one coat of Sweet Tooth, then added a coat of Gelous and a final coat of Seche Vite to smooth everything out. I didn't want to layer the glitter through the mani for this one, I wanted an effect like sprinkles over a cake. Or maybe a trifle. Overall, I like the mani - it's very springy and it reminds me of Cadbury's mini eggs. I might try ACV Sweet Tooth over a paler, lemony yellow soon, or maybe over something like Rescue Beauty Lounge No More War (that's a colour you'd get if you mixed black and yellow together).
Happy Easter!!
 |
| Alta Costura Vernis Sweet Tooth over Ruby & Millie Yellow 200P |


