 |
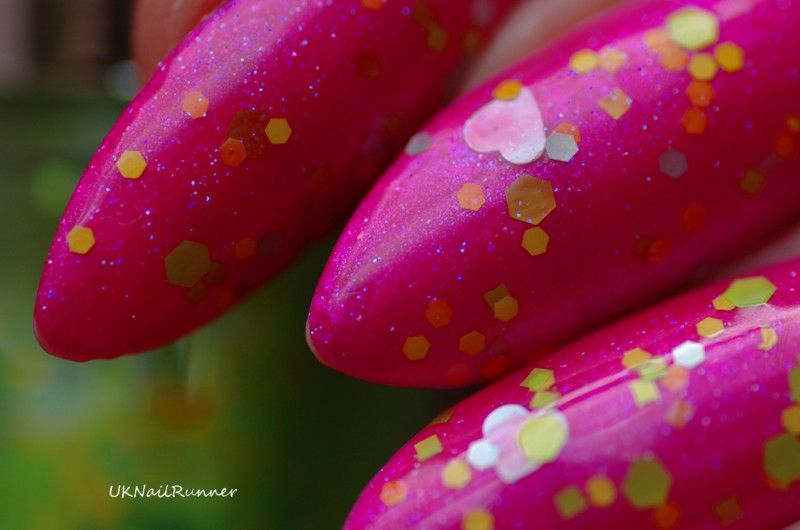
| Tape design with Barry M Gelly Nail Paint in Lychee |
I've been wanting to try a tape design for a while, and finally I got around to buying some nail striping tape. I'd been a bit unsure about which sort to get, but when Sammy at
The Nailasuarus opened her nail art supplies shop, I thought getting what she uses would be a great start, since this girl really knows her nail art.
I decided to start out with something very simple; just parallel lines becoming gradually closer together. Once finished, it does look a bit like it could be based on the fibonacci number series, but this was not intentional; I just placed the strips of tape in an attractive (to me) layout by eye. Interesting that my random arrangement came out looking close to a fibonacci sequence - I have been taught this in some detail in the context of design of stripes for weaving but I was NOT thinking about this at all when I did this mani!
Since this was my first experiment with tape, I worked over an existing mani which I was about to remove - this
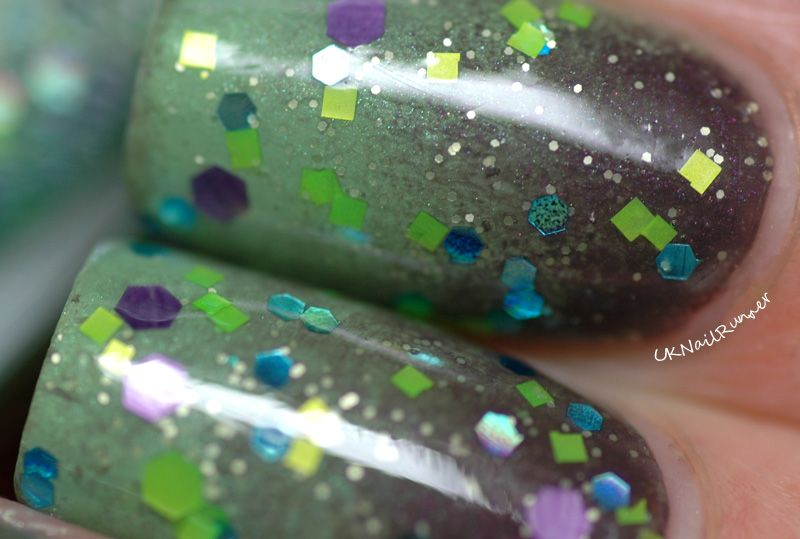
glittery watermarble which has plenty of variation in colour and texture.

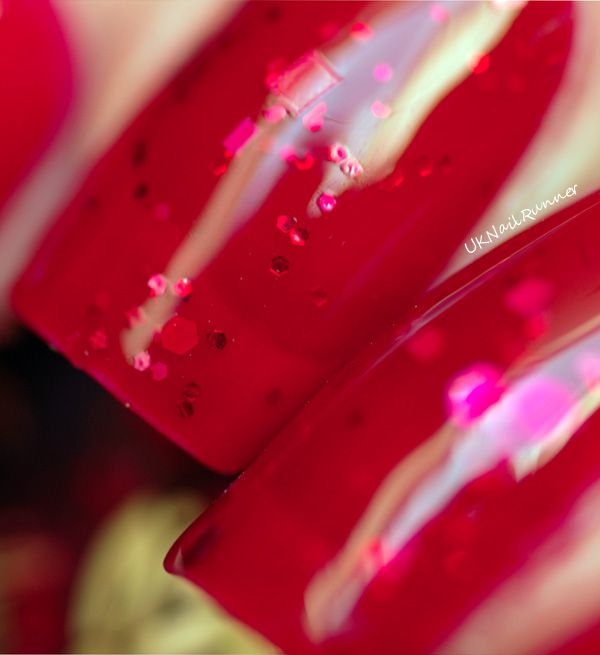
I placed the strips of tape on the nails of one hand at a time, making sure to press the ends of the tape down well at the sides of my nails so the polish didn't get underneath at the edges. Then I applied a thickish coat of Barry M Gelly Nail Paint in Lychee to cover the tape and the polish underneath. I removed the tape whilst the polish was still wet on each nail, waited a moment or two for the polish to become touch dry then moved on to the next nail. When I had the design done on the whole of my right hand, I waited a bit longer before applying Seche Vite topcoat to be sure the topcoat would not smudge the design. Then I started painting my left hand. I always paint my right hand first - partly because I think it's hard enough painting my right hand with my left in any case, so why make it harder by having wet nails on my left hand whilst I'm painting - and partly so I can use my right hand to *practice* on, since I always photograph my left hand!
Barry M Lychee is probably my most used polish this year - apart from the fact that I really love the colour to wear
on its own, it seems to be perfect for nail art; it is really opaque and densely pigmented so it covers just about any base with ease. I've used this colour with great success for
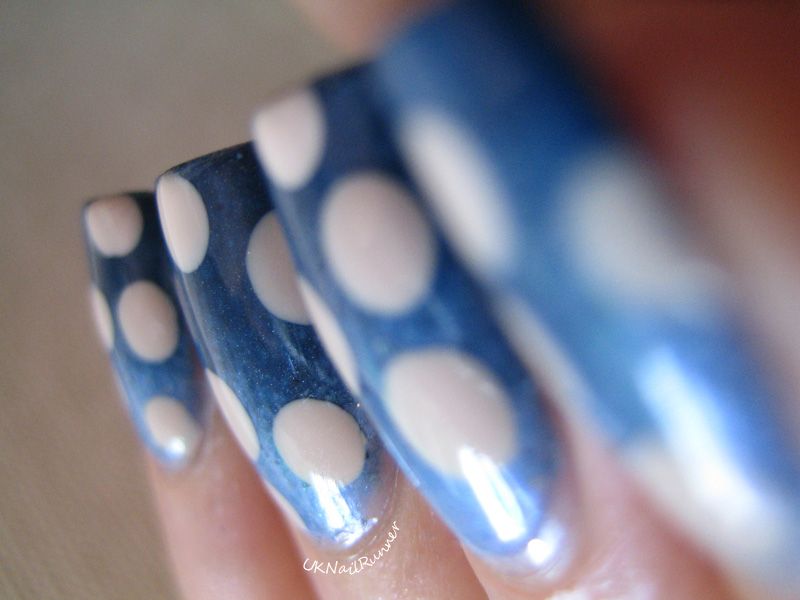
dots and
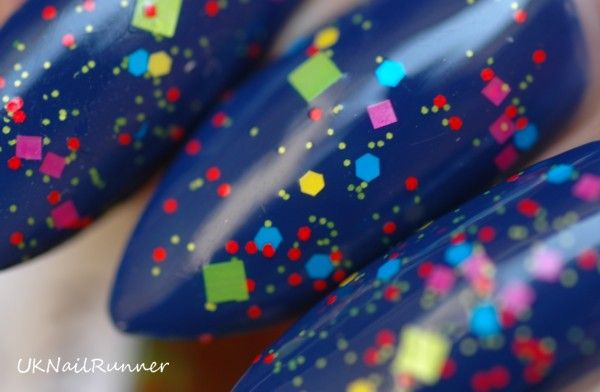
water marbling recently - I might try it out for stamping next!
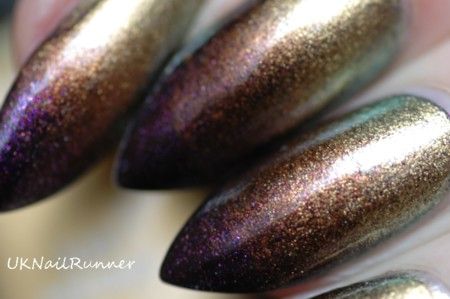
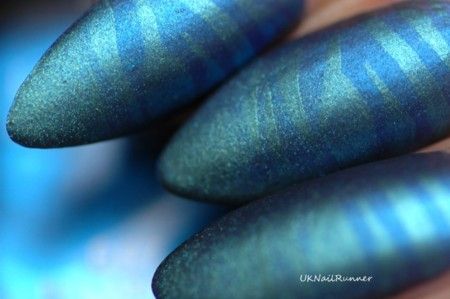
The overall result is a bit 'segmented' - it reminds me of annelid worms (or maybe even
the michelin man) but I rather like that. In fact I think I might try some combination with textured or matt polishes in the future to emphasise this effect!
There is a bit of shrinkage from the Seche Vite; the existing mani was already quite thick and I think the combination of a one thick coat of polish over dry polish and topped by SV was a little risky. In real life the tips of my nails aren't noticeable at all, but I can't hide the shrinkage in the photographs.
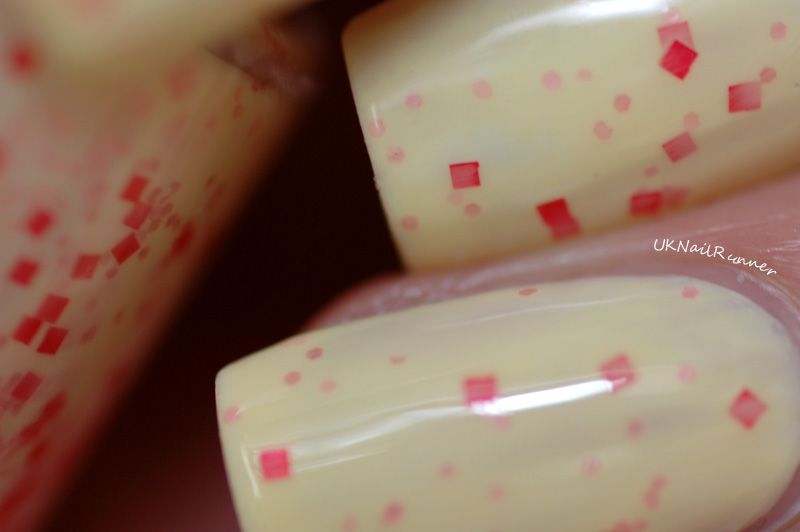
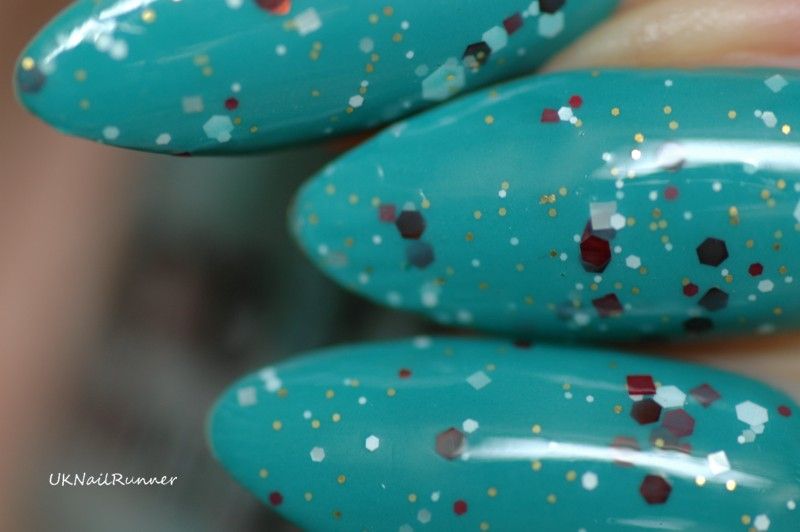
And a couple more macro shots to finish with:
 |
| Tape design with Barry M Gelly Nail Paint in Lychee |
I purchased my Barry M Gelly Nail Paint in Lychee from my local Boots earlier this year. I got my striping tape from
The Nailasaurus Emporium.


")


")
")


