

 |
| Laqa&Co Tuxedo |
I've got some nail art staples to share today - black polishes and a nail art tool kit including brushes, striping tape and dotting tools!
Let's start at the beginning with the polishes. This is a polish duo from Laqa&Co - 'Tuxedo' is a glossy and matte pair. They come in the double ended bottle like the Laqa&Co Gold Fleck Manicure range - I have to say I'm not keen on the bottle format, it makes the brush harder to control because of the weight of the bottle in your hand and it leaves the tiny bottle you are painting from rather unstable. The polishes inside the bottles are great though!
Here are the black polishes on their own to start with - this is one coat of each , no topcoat. I'm impressed with both of them; the matte is a bit streaky but I think that is more down to me not being able to hold the brush steady because the 'handle' is a bottle of polish and is too long and heavy!


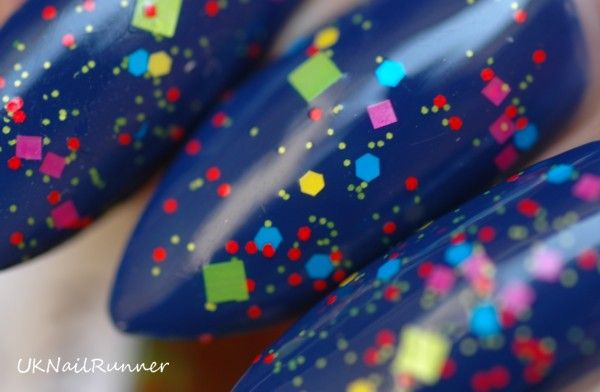
My first trial was to use the black polishes over my existing mani (Laqa&Co Bobby Dazzler) to create some nail art skittles using the Models Own Nail Art Tool Kit. The kit includes a flat wide brush (which I've been using as a clean-up brush for the edges of my nails; this is a perfect brush for this), a fine brush for detailing, a striping brush, a fan brush, two double-ended dotting tools (small and large) and a roll of striping tape. Just about everything you need to get started! I used the small dotting tool and the fine brush for my index finger, the striping brush for my middle finger and the fan brush for my ring finger; for all these fingers I used the glossy black from the Tuxedo duo. For my little finger I created a 'ladybird' nail - first I used the striping tape to make a neat edge for the french tip, then applied the matte black. Then I added the matte black dots with the biggest dotting tool.


 |
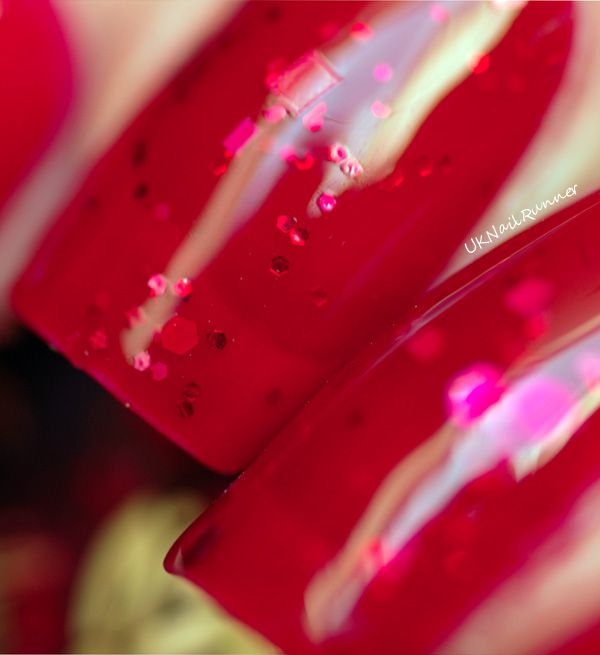
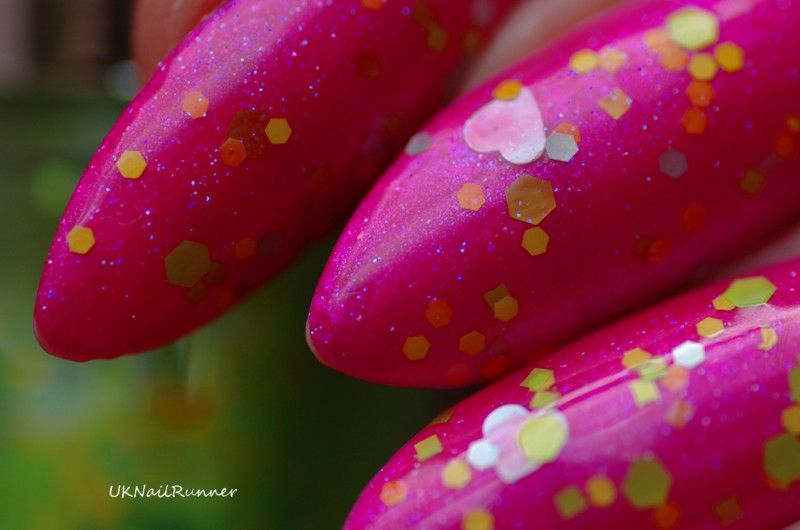
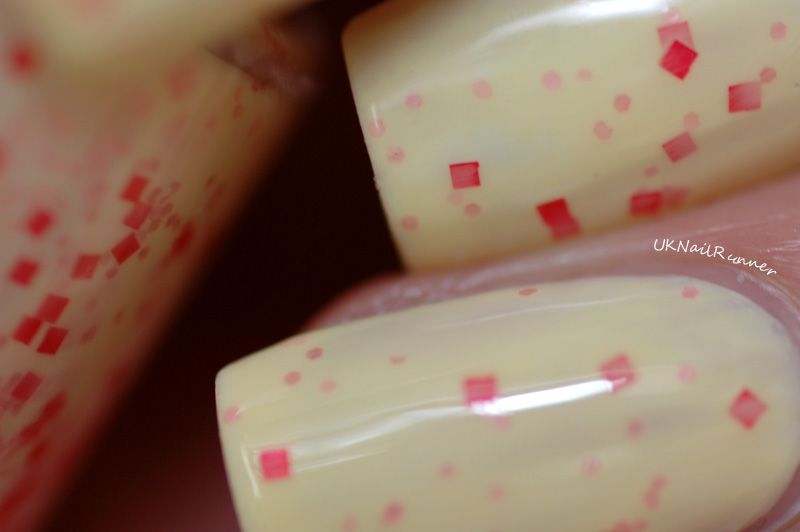
| Nail Art with Laqa&Co Tuxedo and Bobby Dazzler |
My next test was a Tuxedo mani - but I liked the ladybird nail too much to remove it so it stays as my accent nail! I used the striping tape again to create the neat edges on the black nails.


And then I added black dots to match the ladybird nail on my other nails - glossy dots on the matte nail, matte dots on the glossy nails. I love how this worked out!


 |
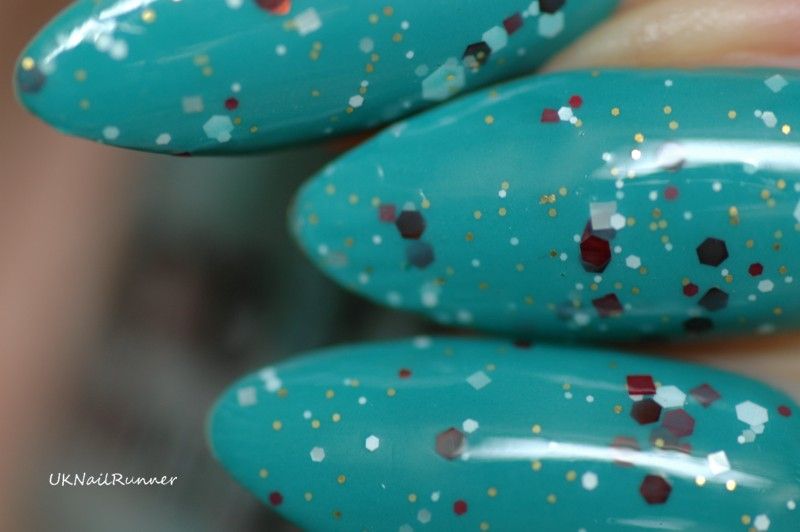
| Nail Art with Laqa&Co Tuxedo and Bobby Dazzler |
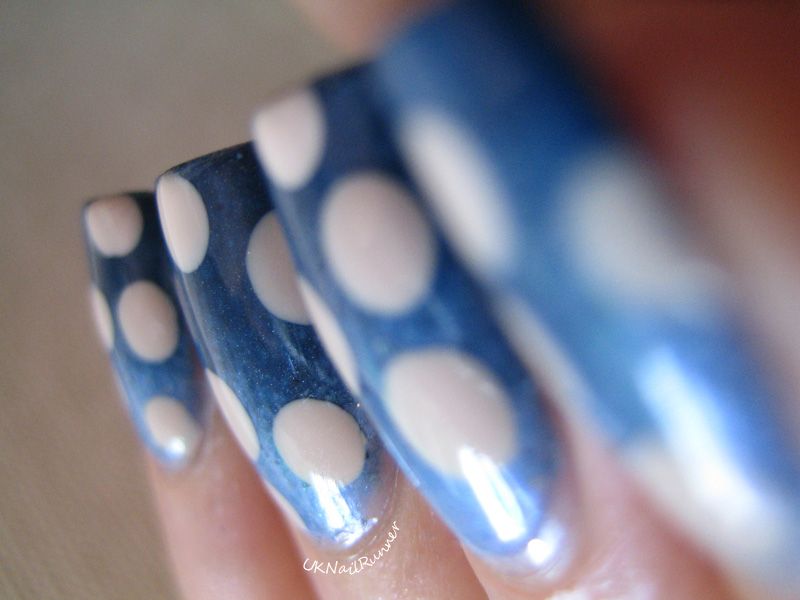
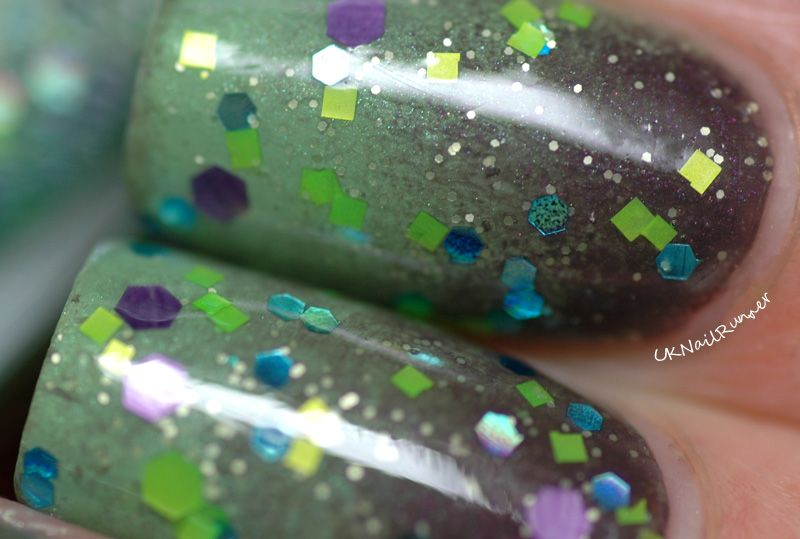
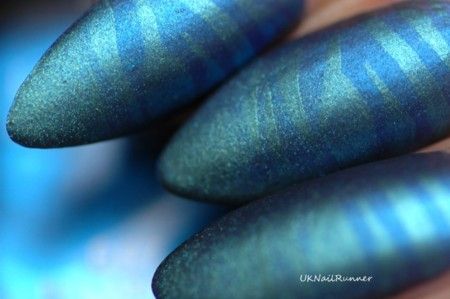
I wanted to wear this for a few days to see how long the matte stayed matte, so when I got bored with the ladybird nail I changed the accent for this green holo (Enchanted March 2014).


 |
| Nail Art with Laqa&Co Tuxedo and Enchanted March 2014 |
I'm pleased to report that the matte stayed matte until I removed the mani after three days. Sometimes matte polishes start out looking fabulous but go shiny almost overnight - this one did stand the test of time. And finally, here is a rare shot of my right hand - I reversed the pattern so I get more of that green holo goodness here. You can see the matte black is streaky here... definitely harder to apply and get a good finish with my left hand using that bottle!

My verdict on the Laqa&Co Tuxedo duo is that the polishes themselves are great, but I'm not keen on the packaging. I'd be all over these if they were sold in separate, full size bottles though. The Models Own Nail Art Toolkit is great, it contains a good range of brushes and dotting tools to cover most needs, the brushes are good quality and easy to handle. They seem to withstand cleaning in acetone pretty well. The striping tape is good and sticky (some versions are not) and a good addition to the kit - I like to use it for making neat edges as well as the more obvious 'stripey' manis!
Laqa&Co Tuxedo and the Models Own Nail Art Tool Kit were sent for review. Laqa&Co Tuxedo is available from Retail Beauty in the UK. The duo is £14.95, which I think is quite pricey for such small bottles. The Models Own Nail Art Tool Kit is available from Models Own for a very reasonable £8. I purchased Enchanted March 2014 from a friend (the Enchanted monthly polishes are an unseen pre-order - my friend doesn't like green!).


